Mastering Gold Farming in Night Crows: Essential Tips and Strategies

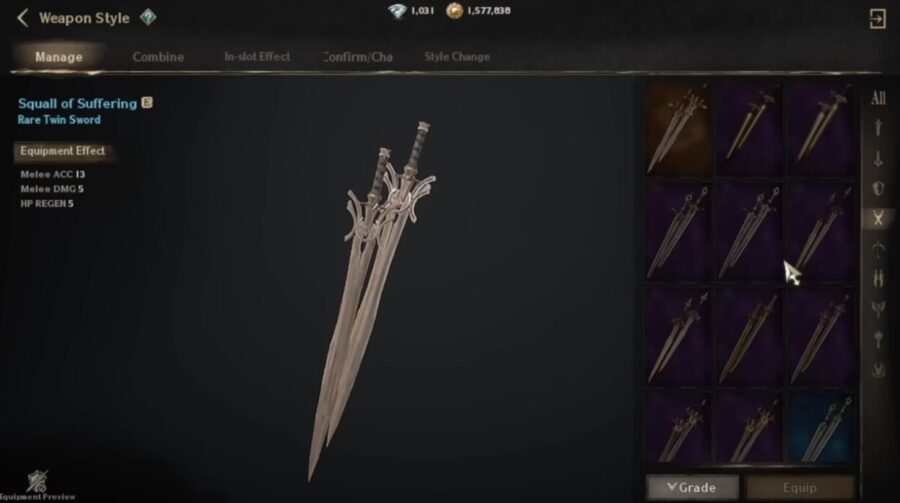
In the realm of Night Crows, amassing gold is a crucial endeavor for adventurers seeking to enhance their equipment and abilities. With strategic planning and prudent decision-making, players can efficiently farm gold while avoiding unnecessary expenditures. Let’s delve into effective strategies and indispensable tips for maximizing gold farming in Night Crows.

1, Utilize Dungeons Efficiently: One of the primary avenues for gold farming is through dungeons. Focus on higher-level dungeons where the potential for gold drops is greater. Save your recharge time for optimal dungeon farming sessions, and consider using F buffs to increase farming efficiency. By consistently farming dungeons, you can accumulate a significant amount of gold over time.

2, Complete Quests for Rewards: Engage in various quests, including main quests, side quests, and daily quests, to earn valuable gold rewards. Main quests offer substantial gold rewards and are essential for progressing through the game. Additionally, completing side quests and daily quests can provide supplementary sources of gold income. Be diligent in quest completion to maximize your earnings.

3, Participate in Achievements and Adventures: Explore achievements and adventures to unlock additional opportunities for gold acquisition. Completing achievements and adventure tasks often yields generous gold rewards. Focus on tasks that align with your gameplay style and objectives to efficiently earn gold through achievements and adventures.

4, Strategic Market Transactions: Leverage the market to sell high-demand items and generate gold income. Monitor market trends and identify items with favorable selling prices, such as gear, crafting materials, and codex items. Avoid unnecessary market purchases that may deplete your gold reserves, and prioritize selling items to increase your gold wealth.

5, Optimize Skill Investments: When considering skill purchases, prioritize acquiring essential skills that align with your character’s build and playstyle. While it may be tempting to purchase all available skills, focus on acquiring skills that offer tangible benefits and enhance your combat effectiveness. Carefully invest in skills that contribute to your overall progression without draining your gold reserves unnecessarily.

6, Avoid Wasteful Expenditures: Exercise caution to avoid wasteful spending that may deplete your gold reserves unnecessarily. Refrain from excessive expenditures on items with limited utility, such as special dungeon entries, enhanced scores, and skill purchases. Instead, focus on strategic investments that yield tangible returns and contribute to your long-term success in Night Crows.

By implementing these strategies and adhering to prudent financial management practices, players can effectively farm gold in Night Crows while optimizing their resources for maximum efficiency. With patience, diligence, and strategic planning, you can amass a formidable fortune and achieve unparalleled success in the vibrant world of Night Crows. And Night Crows Diamonds buy at mmoexp.com, get easy and cheap, join us now.

Last Epoch: A Guide to Uniques, Legendaries, and Power Progression

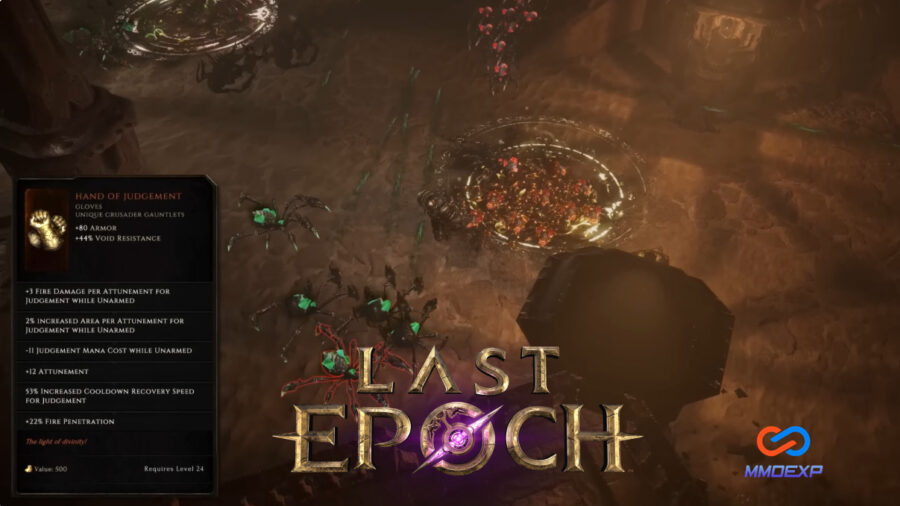
In the ever-evolving landscape of Last Epoch, as you traverse through its rich tapestry of epochs and dimensions, you find yourself reaching a pivotal juncture: the endgame. Having honed your skills, crafted your build, and delved into the depths of its campaign, you now stand on the precipice of a new journey—one that delves deeper into the realms of power and progression. At the heart of this journey lie unique, legendaries, and the pursuit of absolute strength.

Unraveling the Mysteries of Unique

Uniques, the prized possessions of every Last Epoch adventurer, hold the potential to elevate your character to new heights. But obtaining them is no simple task; it requires cunning, perseverance, and a dash of luck. In the early stages, the acquisition of uniqueness may seem entirely at the mercy of RNG (Random Number Generation). Yet, there are avenues to tilt the odds in your favor.

One such avenue is the Rune of Ascendance, a coveted crafting item that bestows upon you the power to transform any item into a unique of the same slot. While these runes are rare, they serve as a beacon of hope, allowing you to target farm-specific uniques essential for your build.

Monoliths of Fate: The Nexus of Power

As you venture deeper into Last Epoch’s endgame, the Monoliths of Fate emerge as your primary hunting grounds. Each timeline within the monolith offers a unique opportunity to farm for specific unique and set pieces. Whether you seek the elusive bow of the Fall of the Outcasts or the mystical relics of the Last Ruin, each timeline holds the promise of great rewards.

Empowered monoliths and higher corruption ratings further amplify your chances of obtaining legendary potential—a crucial aspect of endgame progression. With each echo conquered, you inch closer to unlocking the true potential of your character.

From Uniques to Legendaries: The Path to Ascension

The journey does not end with the acquisition of uniqueness; it merely marks the beginning of a new phase. The true essence of power lies in the transformation of these uniques into legendaries. Through the alchemical fusion of unique items with legendary potential and exalted items, you breathe life into your gear, imbuing it with unparalleled strength.

Legendary potential serves as the linchpin of this transformation, dictating the number of affixes inherited from the exalted item. As you strive for perfection, each roll becomes a gamble, a step towards crafting the ultimate legendary gear for your character.

The Faction Factor: Unlocking Hidden Potential

Amidst the tumult of endgame pursuits, the significance of factions often remains overlooked. By delving deeper into the annals of Last Epoch’s lore, you unlock access to two pivotal factions: the Circle of Fortune and the Merchant’s Guild.

The Circle of Fortune offers prophecies that enhance your chances of acquiring rare gear, while the Merchant’s Guild opens the doors to a vast trade market and allows you to use Last Epoch gold to purchase items needed for your build. Embrace the power of factions, for they hold the keys to unlocking hidden potential and accelerating your journey toward greatness.

Embracing the Journey

In the grand tapestry of Last Epoch, the pursuit of power is not merely a destination but a journey—one filled with trials, triumphs, and the occasional setback. As you navigate through its myriad dimensions, cherish each moment, relish each victory, and learn from each defeat.

From the humble beginnings of your build to the pinnacle of endgame perfection, every step shapes your destiny. So, gather your courage, hone your skills, and embark on the journey of a lifetime. For in the world of Last Epoch, the true adventure has only just begun.

Conclusion

As the echoes of the Last Epoch reverberate through the annals of time, the pursuit of power remains an eternal quest. Through the acquisition of uniques, the crafting of legendaries, and the exploration of factions, you chart your course toward greatness.

So, let the echoes guide you, let the epochs shape you, and let the journey unfold. For in the heart of Last Epoch, amidst the chaos and the mystery, lies the true essence of adventure—a journey that transcends time itself.

Innovating Po8 Mechanics in Skull and Bones: Leveraging Current In-Game Logic

As a seasoned software architect with a passion for gaming that spans decades, I bring a unique perspective to the table when it comes to proposing changes to the Pieces of Eight (Po8) system in Skull and Bones. Drawing upon my extensive experience in both technology and gaming, I present ideas that aim to enhance the Po8 experience by leveraging existing in-game mechanics and logic.

One of the key proposals is to revamp the Po8 pickup mechanism to allow players to gather all items from a single manufacturer in one go. Upon collecting these items, players are presented with three distinct options to choose from, each offering a different gameplay experience.

The first option, “Proceed to Next Region,” becomes available if players have multiple regions unlocked. Opting for this choice initiates a thrilling pursuit by rogue sets as players navigate towards their next destination, adding an element of excitement and challenge to the journey.

Alternatively, selecting “Proceed to Drop Off” triggers a helm wager-style event that is exclusively PvE-oriented. Players must navigate through various obstacles and challenges while fending off rogue sets from previous regions, providing a unique and engaging gameplay experience devoid of PvP interactions.

For those seeking the adrenaline rush of PvP combat, the “Helm Wager” option remains unchanged in terms of its mechanics. However, to level the playing field and promote fair competition, several adjustments are proposed.

Upon initiating a helm wager, players are granted a brief 60-second immunity period during which they are impervious to damage. During this time, other players have the opportunity to join the wager by contributing 10% of the initial wager amount. This ensures that participants have a vested interest in the outcome of the event and encourages active participation.

To prevent exploitation and maintain the integrity of the wager, certain restrictions are imposed. Once the 60-second countdown begins, players cannot fast travel or join the event, and leaving prematurely results in the forfeiture of their wager contribution. Additionally, the location of the player triggering the wager is made visible to all participants, allowing them to strategically position themselves for the impending challenge.

Furthermore, in an effort to incentivize aggressive gameplay and risk-taking, a unique mechanic is introduced. Any player who eliminates a participant who has contributed to the wager sees their wager amount added to the prize pool, creating additional stakes and intensifying the competition.

Ultimately, the player who successfully claims the wager chest upon docking receives the full contents, including any additional contributions made by eliminated participants. This ensures that the rewards are commensurate with the risks taken and the challenges overcome throughout the event.

By integrating these innovative ideas into the existing Po8 mechanics, Skull and Bones can offer players a dynamic and immersive experience that combines strategic decision-making, thrilling encounters, and competitive PvP gameplay. As the game continues to evolve, embracing fresh perspectives and leveraging current in-game logic will be crucial in enhancing the overall enjoyment and longevity of the Po8 system.

MMOexp provide the Skull and Bones Po8 boosting service, Safe and reliable, purely manual operation. We also offer you cheap Skull and Bones Items and Silver service. Hope you like it.

The Mechanics of Capturing and Taming Slaves in Myth of Empires

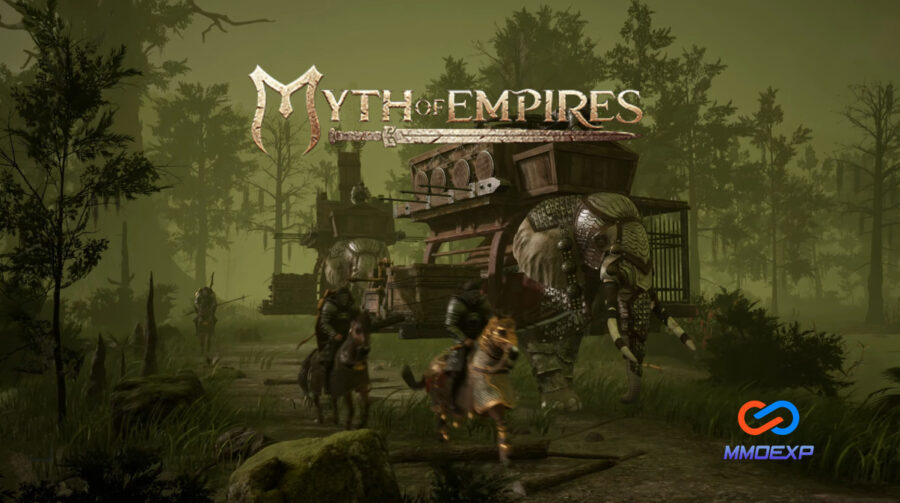
Hello everyone! Today we will delve into the fascinating world of Myth of Empires to explore how to capture and tame slaves. In this exciting game, there are two types of slaves: the passive ones, whom we can tame by giving them what they need, and the aggressive ones, whom we must stun before capturing them. Come with me as I show you both ways to do it.

To begin with, when we encounter a passive slave, we have the option to talk to him and recruit him. In this case, the slave will ask us for something in exchange for joining us. For example, they could request a piece of thick leather armor or even 16 meat skewers. If we have the necessary objects, we simply hand them over and the slave will join our cause. However, if we are not high enough to tame it, we will have to wait to improve our skills before trying again.

On the other hand, when we face an aggressive slave, the situation changes. Instead of talking to him, we must stun him with a club and then tie him with a rope and take him to our base. It is important to note that we must be careful not to inflict excessive damage on him during the stunning process, as we could end up accidentally killing him.

Once captured, we can transport the slave to our base and assign it various tasks. However, it is crucial to make sure we keep him close to our base to prevent him from running away if his health is restored and he falls off the horse we are transporting him on.

As for the slaves we want to train, the process is equally simple. First, we must craft a stick to tie them, then we provide them with food and put them to work. Over time, the slave will level up and improve his skills, which will allow us to customize his function according to our needs. For example, if we want him to become an expert in handling one-handed or two-handed weapons, we simply equip him with the corresponding equipment and let him work.

Additionally, it is important to remember that each slave can perform a maximum of five different tasks, so we must carefully plan how to assign its functions to optimize its performance. At the same time, it is essential to keep them fed and monitored to ensure their effectiveness and loyalty.

In short, capturing and taming slaves in Myth of Empires is a fundamental part of the gaming experience. Whether recruiting passive thralls through item trading or stunning aggressive thralls and then training them, this mechanic adds an extra layer of strategy and customization to the game. With a little planning and patience, we can form a team of efficient and versatile slaves that will help us achieve our goals in the world of Myth of Empires.

Do you need the Myth of Empires Copper Coins buy service, MMOexp will do it for you manually, it is safe and reliable, and you can easily get more MoE Copper Coins, please contact us.

Hidden Riches: Ravendawn Online Mining Guide

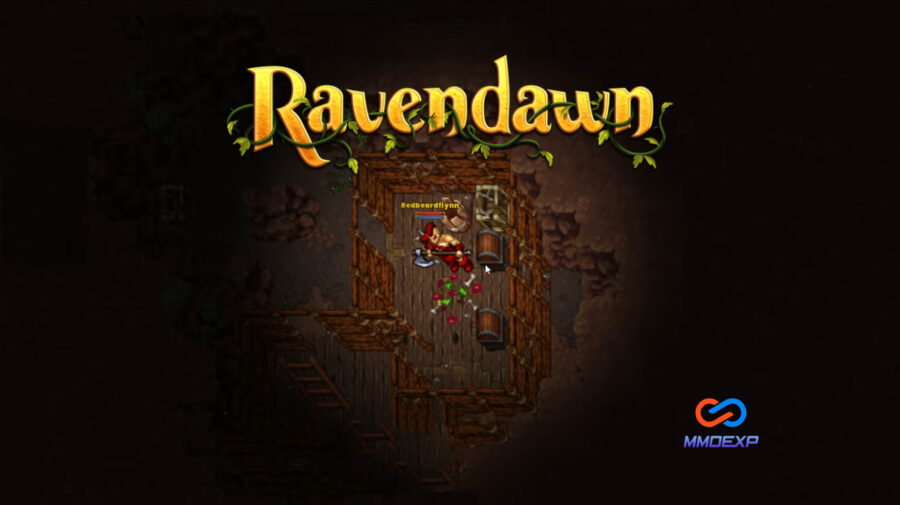
Today, we’re delving deep into the world of mining, addressing some concerns from the community about overcrowded mines and scarce nodes. Fear not, fellow miners, because I’ve scoured the lands of Ravendawn and discovered some hidden gems for you. Stick around till the end, as I’ll reveal my favorite super-secret mining spot. Let’s jump right in!

  1. Barandon Mines: The Classic Riches

Our first stop is the well-known Barandon Mines, located north of Raven Crest and east of Margrove. While many of you might be familiar with this spot, it remains a go-to location for mining enthusiasts. The surface of the mine is rich in nodes, and if you venture deeper, you’ll encounter level 35 dwarves, providing both valuable resources and experience points. Don’t forget to grab the house trophy for a bonus to your weapon defense.

Navigating through the mine might be a bit crowded, but follow my route in the article to discover the deeper sections, untouched by many. It’s a contested area, but the rewards are worth the effort.

  1. Goblin Mine on SEO Island: Unearth Goblin Obsessions

Next up is the Goblin Mine on SEO Island, situated southeast of the village. This hidden cave hosts the Goblin Obsessions quest, leading you to face two hobgoblins as you descend. Beyond them, you’ll find nodes waiting to be mined. While not as crowded as other spots, this location offers a unique questing experience, making it a well-rounded choice for adventurers.

  1. Turtle Shell Hills: Balanced Resources

Turtle Shell Hills might not boast the same richness as Barandon Mines, but it compensates with a decent number of nodes. This area is often linked to common-range board tasks, providing an opportunity to accomplish multiple objectives simultaneously. Apart from mining, you can also take on the “Restoring the Natural Balance” quest, involving the CH boss.

  1. Mount Minos in Had Desert: Advanced Mining Adventure

For those seeking a more advanced mining experience, Mount Minos in the Had Desert awaits. With level 33 to 35 minotaurs roaming the area, this spot is not only rich in nodes but also offers a lengthy quest line. The minotaurs drop minor horns, useful for the eighth step of the Hadak Desert artifact journal. It’s a challenging yet rewarding spot for experienced miners.

  1. Super Secret Mining Spot: The Hidden Pirate Docks

Now, for the grand finale, let’s dive into the super-secret mining spot. This hidden gem is located in the middle of the ocean, accessible after completing the SJO Island Chase Eagle quest. Upon completion, the legendary Captain will reward you, unlocking access to the hidden pirate docks on the remote Beach Island near the scattered sea.

Venturing inside the cave, you’ll encounter level 35 poison petals, familiar foes for seasoned adventurers. However, the real treasure lies in the abundance of nodes waiting to be mined. Keep in mind that this secret spot might not stay hidden for long, so make the most of it while you can.

Conclusion: Happy Mining!

And there you have it, fellow miners! A comprehensive guide to some of the best mining spots in Ravendawn Online. I hope this information enhances your mining experience and helps you uncover hidden riches. If you know of any secret spots not mentioned here, share them in the comments below. Let’s create a community of prosperous miners!

For more articles like this, take a look at MMOexp.

Skull and Bones: A Guide to Crafting the Formidable Padul Kang Ship

Welcome to a deep dive into the world of Skull and Bones, where the seas are vast, and the adventures are endless. Your guide through the treacherous waters of this open-world naval game. Today, we embark on a quest to uncover the secrets of the Padul Kang, the mightiest ship in the game.

Setting Sail for Success: Unlocking the Padul Kang Blueprint

In the heart of the vast ocean lies the blueprint for the legendary Padul Kang, the pinnacle of naval engineering in Skull and Bones. To unlock this blueprint, one must first reach the pinnacle of their journey in the game – the Bon rank in Open VA.

Once you’ve attained the esteemed Bon rank, journey to the Codex in the knowledge base. Navigate to the ship section and locate the Padul Kang blueprint. With a simple press of a button, track its location, and behold – the blueprint rests in the distant lands of the East Indies.

Prepare yourselves, for the road ahead is long and perilous. But fear not, for with the right preparations, victory shall be ours.

Preparation: Equipping for the Voyage

Before setting sail towards the East Indies, it’s crucial to make necessary adjustments to your ship and equipment. Customize your ship’s cosmetics for optimal visibility, ensuring you can navigate the seas with ease. Stock up on provisions such as cooked food, water, and repair kits to sustain you on your journey.

Keep a keen eye out for rogue waves that may threaten to engulf your ship. Utilize cooked food for buffs, water for speed boosts, and grilled food for stamina refills to navigate through rough waters unscathed.

The Journey Begins: Collecting Materials

With our ship prepared and supplies stocked, it’s time to embark on our journey to collect the materials required for crafting the Padul Kang blueprint.

Our first destination is the Northwestern Outpost, where we acquire the essential Saltpeter. From there, we venture north to the Sanghat settlement, scouring shipwrecks for Pure Iron deposits along the way.

As we journey onward to the Sunny Capital settlement, we secure additional Shellac, a crucial component for crafting the Padul Kang. Along the route, we gather Ironwood and other materials necessary for our quest.

Gathering Raw Materials: Tracking and Refining

Back at the Codex, we track down the remaining raw materials required for crafting. With precise navigation, we collect Ry, Ironwood, and Rainy, ensuring we have all we need for the crafting process.

Upon gathering the raw materials, we journey to the Refinery to refine our loot. With meticulous care, we refine Ironwood planks, Steel Ingots, and Fine Ry to perfection, readying them for the crafting process.

Crafting the Padul Kang: A Triumph at Sea

At long last, with all materials in hand, we return to the shipyard ready to craft the legendary Padul Kang. With skilled craftsmanship, we assemble the components, forging a vessel of unparalleled power and prowess.

As the Padul Kang takes shape before us, we marvel at its magnificence. Equipped with formidable weaponry and sturdy construction, it is a force to be reckoned with on the high seas.

Conclusion: Seize the Seas with the Padul Kang

With the Padul Kang now under our command, we set sail once more, ready to conquer the seas and vanquish our foes. From its sleek design to its devastating firepower, the Padul Kang is the epitome of naval superiority in Skull and Bones.

So, fellow sailors, heed my words and embark on your journey to unlock the secrets of the Padul Kang. With courage in your heart and wind in your sails, the seas await your conquest. For more of the latest Skull and Bones content here. If and buy Skull and Bones Silver through our website, you will get more discounts.

Unveiling the Power of Arcane Weapons in Elden Ring

Hello fellow gamers, MMOexp here! Today, we embark on a journey through the mystical realm of the Elden Ring to explore five of the most formidable Arcane weapons that promise to leave a lasting impression on your adventures. As we delve into this new series, we’ll uncover the unique attributes and skills that make each weapon a standout choice for your arsenal.

  1. Morgott’s Cursed Sword

Our first contender is Morgott’s Cursed Sword, a curved greatsword that deals physical damage with a passive blood loss build-up. With D scaling in Strength and Arcane and B scaling in Dexterity when fully upgraded, this weapon offers a versatile playstyle. The Ash of War, a swift dash followed by a blood flame explosion, not only damages enemies but also inflicts blood loss, easily staggering foes. Utilizing items like the white Mask helm and Lord of Blood’s Exultation talisman enhances its attack power when blood loss is present, making it a force to be reckoned with.

To obtain Morgott’s Cursed Sword, defeat Morgott the Omen King and trade his Remembrance with Enia at the Roundtable Hold.

  1. Eleonora’s Poleblade

Next up is Eleonora’s Poleblade, a twinblade with innate Bloodloss build-up benefiting from Arcane scaling. Its unique R2 moveset allows for multiple successive attacks, with the option to charge up for increased damage. The flashy Ash of War, a forward leap and spin, deals with quick successive attacks, causing fast blood loss build-up. Synergizing with items like Millicent’s Prosthesis and Rotten Winged Sword Insignia, this weapon becomes a stylish and powerful choice for those who master its moves.

To obtain Eleonora’s Poleblade, defeat Eleonora, the Violet Bloody Finger NPC, at the Second Church of Marika.

  1. Rivers of Blood

The Rivers of Blood, a Katana-type weapon, is our third pick. Dealing both Physical and Fire damage, it showcases better scaling with Arcane than Dexterity. The Corpse Piler Ash of War, a set of fast frontal cone slashes, causes massive blood loss build-up and damage. With its excellent range, this weapon stands out as a powerful Arcane choice, making it a top contender for any Arcane build.

To obtain Rivers of Blood, defeat Bloody Finger Okina near the Church of Repose.

  1. Marais Executioner’s Sword

The Marais Executioner’s Sword combines split Physical and Magic damage, primarily scaling with Strength. Its Ash of War, Eochaid’s Dancing Blade, is a potent single-target damage dealer with a corkscrew motion that continuously deals damage. This weapon synergizes well with items like Thorny Cracked Tear, allowing you to achieve unparalleled levels of damage.

To obtain Marais Executioner’s Sword, defeat Elemer of the Briar at The Shaded Castle.

  1. Mohgwyn’s Sacred Spear

Our final entry is Mohgwyn’s Sacred Spear, a Great Spear-type weapon with a passive blood loss build-up. Dealing Physical and Fire damage, it boasts an incredible Ash of War, Bloodboon Ritual, offering one of the best AoE damage outputs in Elden Ring. Strengthened by items like Flame Grant me Strength and Flame Shrouding Cracked Tear, this weapon is a powerhouse for Strength and Arcane builds.

To obtain Mohgwyn’s Sacred Spear, trade Remembrance of the Blood Lord with Enia at Roundtable Hold.

In conclusion, these five Arcane weapons in Elden Ring showcase the diverse and thrilling possibilities for players seeking unique and powerful choices for their adventures. Whether you prefer swift and flashy moves or a more strategic approach, each weapon on this list brings its distinct flavor to the game. Experiment with these weapons, combine them with the recommended items and embark on a journey that leaves a mark in the mystical world of Elden Ring.

If you’ve enjoyed this content, Keep up to date with MMOexp site for more Elden Ring build guides! And also can buy Elden Ring Runes here!

Enhancing Barbarian’s Charge: A Proposal for Improved Skills

Barbarians, renowned for their raw power and brute force, often find Charge falling short, especially against bosses and certain elites. In this discussion, we delve into the nuances of Charge, its limitations, and propose a revamped skill set to enhance the Barbarian’s effectiveness in battle.

The Challenge of Charge:
One common issue players face is the apparent inefficacy of Charge against formidable foes. The question arises: when dealing with enemies resistant to being forced back, is there a need to establish a minimum distance before activating Charge? Some builds address this concern by incorporating Leap, indicating a potential workaround.

The Dilemma of Power Kick:
Power Kick, while a conditional skill with the ability to apply Vulnerable, seems underwhelming for its point investment and area of effect. Requiring six points to also cause Berserk, Power Kick only hits targets in a small cone, with a somewhat obscure animation. Despite draining all Fury and redirecting it into an attack, the resulting damage falls short compared to Core Skills or Deathblow.

Issues with Fury Management:
Power Kick’s role as a conditional skill to trigger Invigorating Fury, healing on Fury dump, introduces a strategic element. However, the catch is that it only works on the first 100 Fury, leaving the Barbarian Fury-less and missing out on the potential bonuses associated with high Fury. This challenges the feasibility of incorporating Power Kick into a high Fury pool strategy.

Comparing Power Kick and Steelgrasp:
Contrasting Power Kick with Steelgrasp reveals a more viable alternative. Steelgrasp, requiring only three points, naturally provides Berserk and Vulnerability, comes with two charges (expandable to three with an Aspect), and boasts additional benefits such as enemy pulling and interruption. Moreover, it has a lower cooldown than Kick and doesn’t deplete the Fury pool.

Proposal: Ground Stomp Reimagined:
To address these concerns, a proposed shift involves repositioning Ground Stomp to replace Kick’s role. The revamped Ground Stomp offers various options:

1, Base Ground Stomp:

  • Charges: 2
  • Charge Cooldown: 13 seconds
  • Lucky Hit: 33%
  • Deals [30%] damage and stuns enemies for 4 seconds.

2, Enhanced Ground Stomp:

  • Knockdown enemies, causing an additional 100% damage.
  • Enemies hit are Vulnerable for 4 seconds.

3, Tactical Ground Stomp:

  • Reduces the cooldown of the Ultimate Skill by 1 second for every enemy hit.
  • Bosses reduce the Ultimate cooldown by 8 seconds.
  • Generates 5 Fury for every enemy hit.
  • Bosses generate 25 Fury.

4, Power Stomp:

  • Consumes all Fury, dealing an additional 20% damage per 10 Fury spent.
  • Enemies that die from the stomp generate 20 Fury.

Benefits of the Proposed Changes:
This reimagining of Ground Stomp introduces versatility, making Leap/Quake a more viable option. A new defensive ability, Tactical Ground Stomp, adds depth to defensive strategies. Notably, the proposal encourages the use of specific items like 100,000 Steps and promotes a Weapon Arsenal (WA) build, which may be currently underutilized.

Conclusion:
In conclusion, addressing the shortcomings of Charge and Power Kick, this proposal suggests a reimagined Ground Stomp to enhance the Barbarian’s capabilities. By incorporating these changes, the Barbarian class gains increased flexibility, utility, and strategic depth, providing players with more engaging and effective gameplay options.

Recommended reading: How to Farm Diablo 4 Gold in Diablo IV Season 3

Follow MMOexp.com, you can get more helpful & useful info..

The Cleric: A Paragon of Balance in Diverse Compositions

In the dynamic realm of “Dark and Darker,” the Cleric emerges as the epitome of balance, a steadfast cornerstone in various compositions. Despite its versatility and indispensability, there are two perks or skills that stand on the periphery of viability – the damage reduction skill and the ale perk. This analysis delves into these aspects, exploring potential adjustments and highlighting the myriad strengths that make the Cleric a staple in most compositions.

  1. Damage Reduction Skill:
    The skill offering damage reduction, while conceptually sound, faces a challenge in finding its niche amidst competing options like Smite, Judgment, or Holy Purification. The inherent allure of Smite’s offensive prowess often overshadows the defensive potential of damage reduction. Perhaps extending the skill’s duration or amplifying its percentage could elevate its viability, creating a more meaningful choice for players. The proposition of combining damage reduction with Smite in a double Cleric comp warrants consideration but still competes with the formidable combination of Divine Strike, Bless, and Protection. Striking a delicate balance in enhancing the allure of damage reduction without overshadowing existing choices poses an interesting design challenge.
  2. Ale Perk:
    The Ale perk, on the other hand, faces skepticism due to its seemingly limited utility. Players can adeptly navigate the debuff with practice, rendering it less impactful than other perks. While its thematic charm aligns with the game’s spirit, its practicality remains questionable. Considering potential adjustments or introducing additional dimensions to its effects could enhance its appeal without disrupting the delicate equilibrium of gameplay.

Perk Variety and Versatility:
Notwithstanding these outliers, the Cleric’s perks showcase commendable variety and versatility. From caster DPS and melee DPS to tanky heal bots and squishy, fast healers, the Cleric offers a spectrum of options catering to diverse playstyles. The solo Crypts Cleric, equipped with undead slaying and Holy Purification, stands as a testament to the class’s adaptability. PvE-focused Clerics find a niche, underscoring the breadth of options available to players seeking a distinctive play experience.

Holy Aura:
The Holy Aura, while receiving mixed reviews, maintains a level of popularity within the player base. Its meh status, in part, stems from the visual indicator, which some find distracting. Personal preferences aside, its continued usage indicates its relevance and acceptance in certain strategies, even if not universally embraced.

Spell Dynamics:
Across the Cleric’s spell repertoire, there’s a strategic purpose for each, save for the underutilized Locust Swarm. Bind and Cleanse, while potentially overshadowed by Lich’s simplicity, retain their usefulness. Bind, in particular, has shown effectiveness against Barbarians, offering a strategic advantage when wielded skillfully. The balancing act of choosing between these spells adds depth to the Cleric’s gameplay, allowing players to tailor their approach based on their preferences and the challenges at hand.

In conclusion, the Cleric stands as a testament to balanced class design, offering a wealth of options for players while grappling with minor outliers in terms of perks and skills. The delicate task of refining the damage reduction skill and the ale perk lies ahead, requiring a nuanced approach to preserve the class’s equilibrium. Maybe more cheap Dark and Darker Gold can help you. As players continue to explore the vast possibilities within “Dark and Darker,” the Cleric’s enduring appeal and adaptability underscore its status as a linchpin in the intricate tapestry of class dynamics.

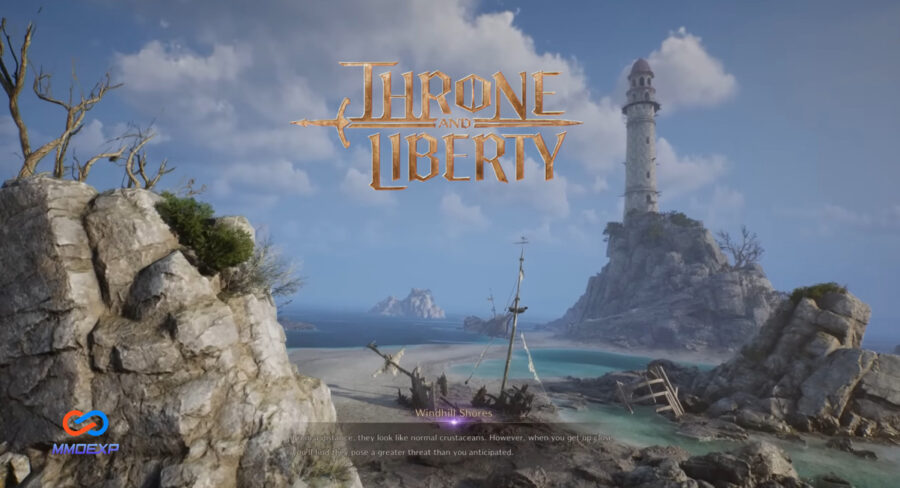
Throne and Liberty Pay-to-Win Analysis: Navigating the Realm of Advantages

In the expansive realm of Throne and Liberty, players are faced with the ubiquitous question: Is it pay-to-win? This article aims to unravel the intricacies of pay-to-win dynamics within the game, shedding light on the impact of financial investments on player progression. Additionally, we explore the role of speed in playing Throne and Liberty, with a spotlight on MMOexp. This analysis dives into the practicalities of pay-to-win elements, addressing the concerns of the average player and providing insights into the game’s endgame dynamics.

MMOexp Sponsorship:

The article opens with a discussion on speed and optimization in Throne and Liberty, introducing MMOexp as a solution to enhance the gaming experience. MMOexp is portrayed as a user-friendly application that optimizes gameplay, offering features such as an interactive map, account pre-own tutorial, and FPS boosts. The simplicity of the application and its ability to provide the best ping, assert that it outperforms other applications. The article includes a promotional offer for readers, encouraging gamers to take advantage of a 5% discount using the “exp32p” discount code to buy Throne and Liberty Lucent.

Pay-to-Win Dynamics:

Transitioning from the sponsorship segment, delves into the core question: Is Throne and Liberty pay-to-win? The unequivocal answer is “yes,” and the subsequent discussion aims to elucidate how pay-to-win mechanisms operate within the game.

Distinguishes between early-game and endgame pay-to-win elements. In the early stages, the focus is on battle passes, considered minimal pay-to-win features. The battle pass, available through monetary investment, provides players with rewards, offering a slight advantage in the leveling process. The article emphasizes that this initial pay-to-win aspect is acceptable, considering the game’s free-to-play nature.

Endgame Pay-to-Win Analysis:

As the narrative progresses, the article turns its attention to endgame dynamics, asserting that pay-to-win elements become more pronounced. The primary currency in this realm is TL Lucent, obtained through a $100 pack, which can be used in the trading market. The trading market operates exclusively with Lucent, giving paying players a significant advantage in acquiring items.

The article provides a detailed breakdown of how pay-to-win influences the acquisition of gear, emphasizing the possibility of outright purchasing epic items from the marketplace. The author contrasts the time-intensive process of grinding for epic gear with the immediacy of acquiring it through financial investment.

Deepening the Analysis:

Moving beyond gear acquisition, the article explores the nuances of gear enchanting and the acquisition of traits. Pay-to-win players are posited to have a substantial advantage in obtaining desired traits and maximizing their gear’s potential. The availability of trade gear for purchase on the marketplace is highlighted as a key advantage for paying players.

The snowball effect of pay-to-win dynamics is expounded upon, indicating that the more one invests, the more advantages they accrue in various aspects of the game. The article emphasizes the impact of pay-to-win on guild dynamics, asserting that powerful guilds are likely to be dominated by paying players with superior gear and traits.

Comparative Analysis:

In a comparative analysis, the article examines the potential for a non-paying, dedicated grinder to compete with paying players. The conclusion is that while a grinder can keep up with a paying player who grinds moderately, there’s a considerable disadvantage when competing with a paying player who grinds extensively.

The article acknowledges the importance of skill in the game but asserts that the pay-to-win dynamics significantly influence player strength. In a guild-centric game like Throne and Liberty, the advantage of having paying players in a guild is highlighted, contributing to the snowball effect of strength and dominance.

Conclusion:

Concluding the analysis, the article offers a mixed perspective on Throne and Liberty. While acknowledging its playability and enjoyability for free-to-play and casual players, it paints a clear picture of the advantages pay-to-win players possess, particularly in the endgame. The article leaves room for further exploration, promising a comprehensive 100-hour review that will delve into various aspects of the game. Overall, Throne and Liberty, according to the article, is undoubtedly pay-to-win, with potential implications for the gaming experience of different player profiles.

Page 1 of 4

Powered by WordPress & Theme by Anders Norén